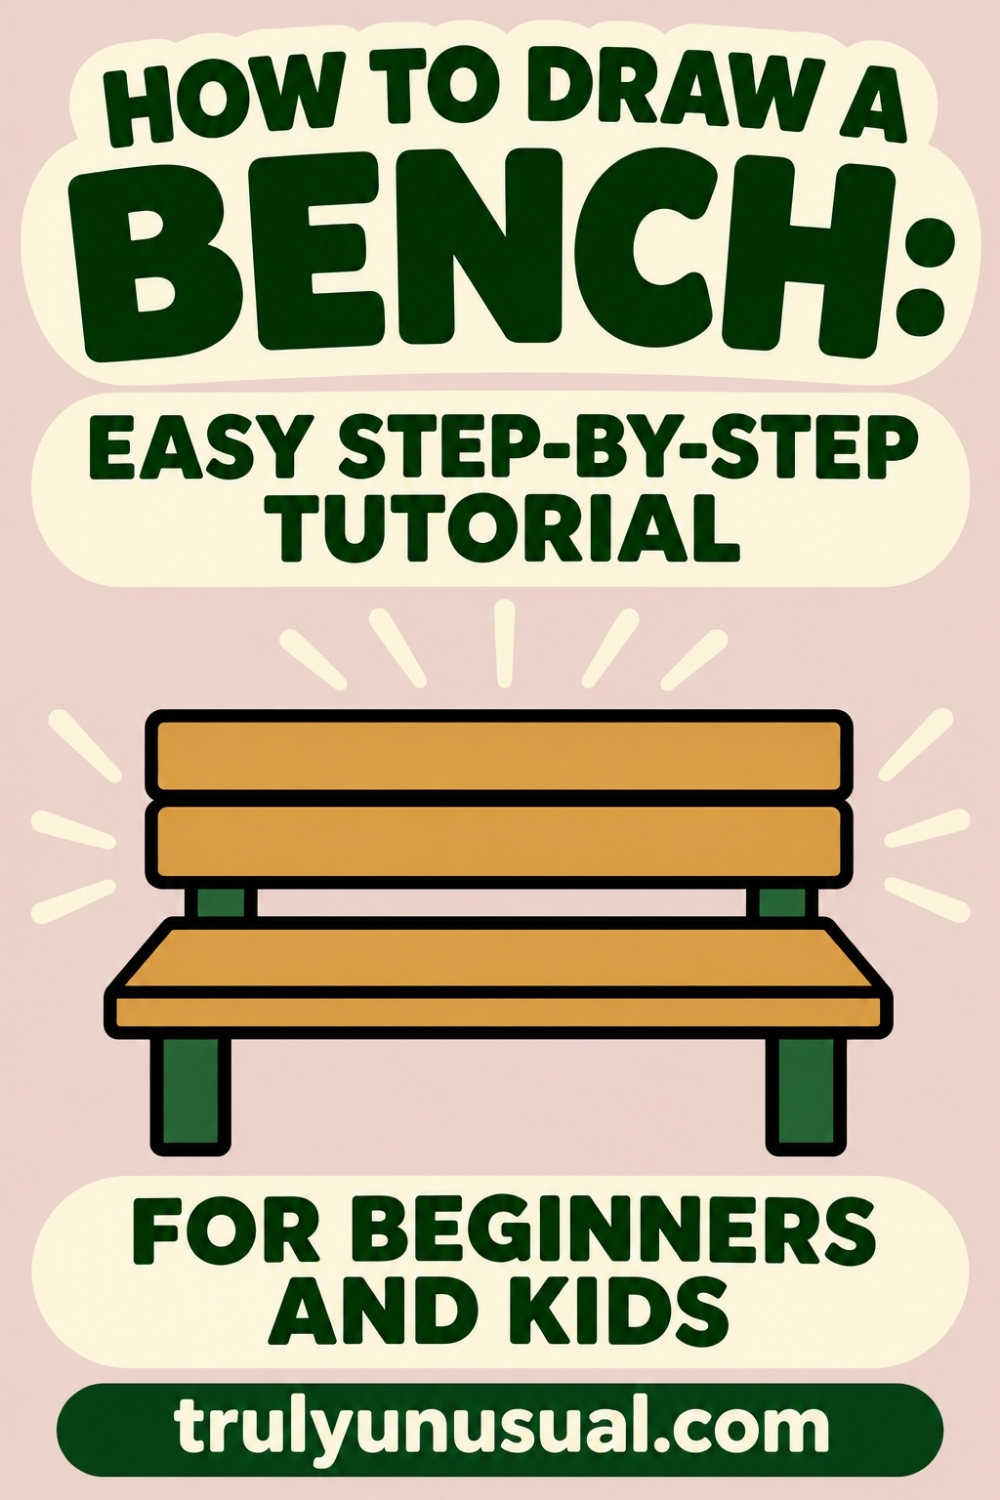
If you want to learn how to draw a bench, start with a few straight lines and build it one piece at a time. In this easy step-by-step drawing tutorial, I’ll show you how to sketch a wooden park bench, from the seat and legs to the two boards that form the backrest.
All you need is a pencil, an eraser, and a piece of paper. Keep your construction lines light, especially when you draw the back supports, so you can easily erase the parts that will be covered by the boards.
How To Draw A Bench: Easy Step-By-Step Guide
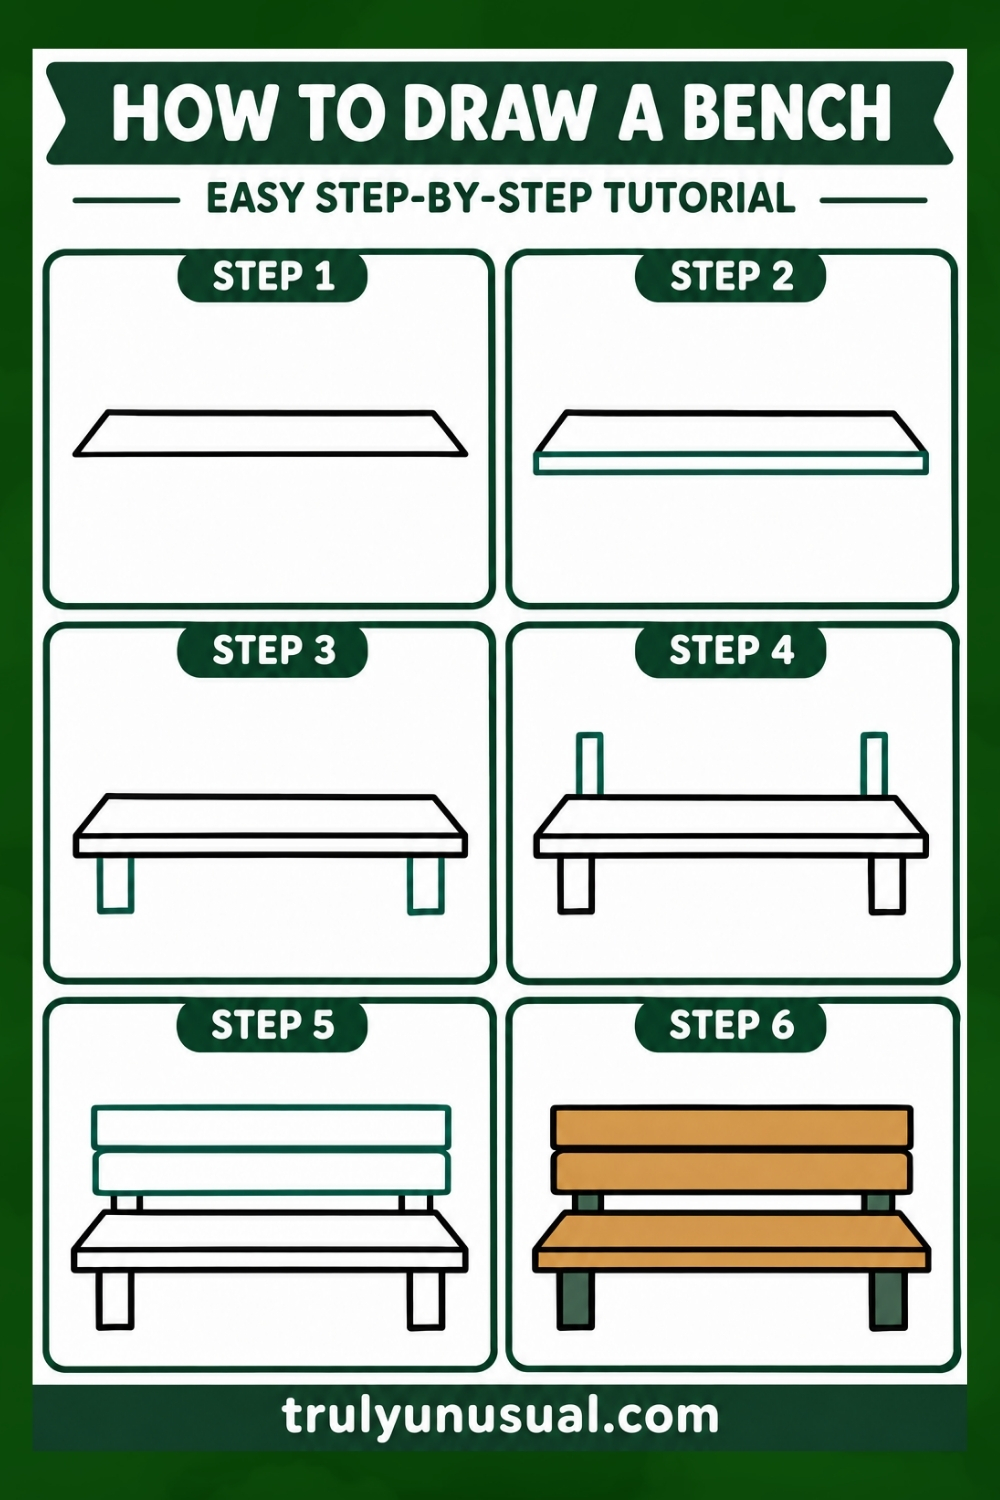
Step 1: Draw the Top of the Seat
Start with a long horizontal line for the front of the seat. Draw a slightly shorter line above it and center it over the first line. Connect the ends with two short diagonal lines. Keep the space between the horizontal lines small so the seat looks wide and shallow.
Step 2: Give the Seat Some Thickness
From each end of the front edge, draw a short line straight down. Connect the bottoms of those two lines with another horizontal line. This creates a narrow strip that shows the thickness of the wood. Keep it slimmer than the top of the seat you drew in Step 1.
Step 3: Add the Bench Legs
Draw a short rectangle beneath the seat near the left end. Use the bottom edge of the seat as the top of the rectangle so the leg looks attached. Draw a matching leg near the right end. Leave a little space between each leg and the nearest corner of the seat, and line up the bottoms so the bench looks level.
Step 4: Sketch the Back Supports
Draw two narrow posts rising from the shorter back edge of the seat, one near each end. For each post, draw two short vertical lines and join them at the top. Sketch these lightly because most of each post will be hidden once you add the backrest.
Step 5: Draw the Backrest
Draw two long, narrow rectangles across the posts, one above the other. Start with the lower board, leaving a little space between it and the seat so you can still see the bottoms of the posts. Stack the second board above it and line up the ends. Erase any pencil lines from the posts that show through the boards.
Step 6: Color Your Bench
Color the seat and both backrest boards a warm brown. You can use a slightly darker brown on the narrow front edge of the seat to make the wood look thicker. Finish by coloring the legs and the visible parts of the posts dark green, as shown in the tutorial.
A park bench is one of those simple things to draw when you’re bored. You can leave it on its own or turn it into a little scene by adding a shady tree, a garden path, or a few fallen leaves. To try a different angle, sketch the bench so you can see one end, then add a side rail beneath the seat on that side.
Check out my other easy step-by-step drawing tutorials for beginners: How to draw a pickup truck | How to draw sushi | How to draw a pleated skirt | How to draw a trash can | How to draw a beanie hat | How to draw a swan | How to draw a swordfish | How to draw a cute cat | How to draw a coyote.
And here are some easy drawing ideas: Cute and easy Halloween drawing ideas | Cute animal drawing ideas | Cute and easy Christmas drawing ideas | Easy love drawing ideas | Cute drawing ideas | Nature drawing ideas.
Happy Drawing!
Magdalena
If you enjoyed this post featuring an easy bench drawing tutorial for beginners and kids, pin it on Pinterest to come back to it whenever you want and help it reach more readers!