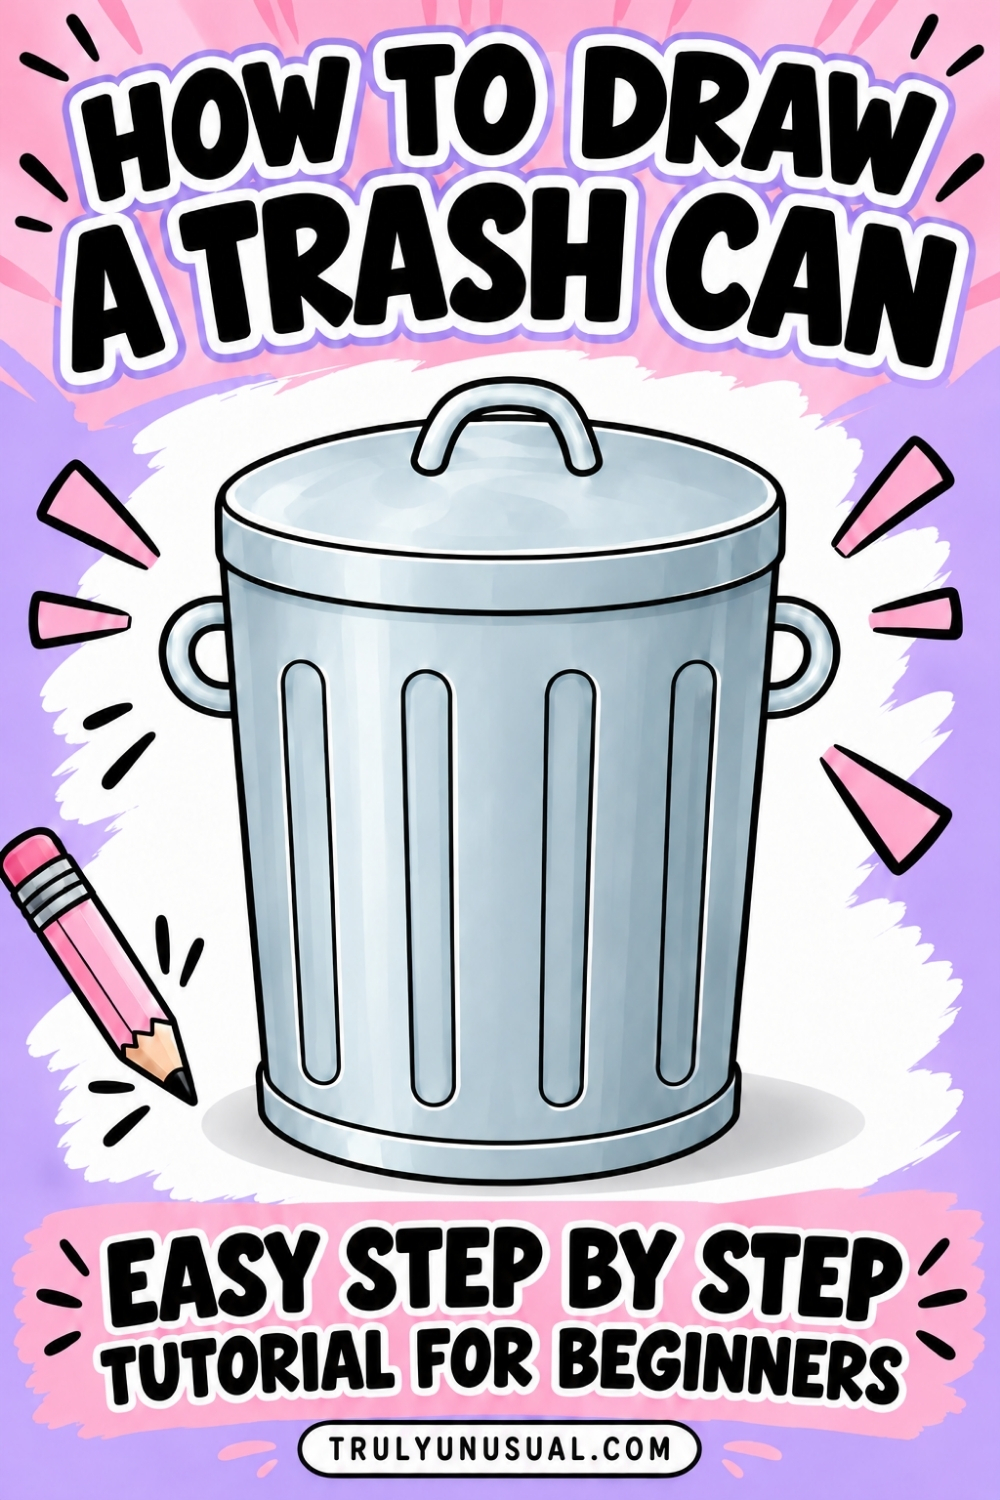
A trash can might not be the first thing you think of drawing, but it’s a useful little subject to practice. It combines simple shapes with a few straight lines and curved edges, and a little shading is all it takes to give the metal a rounded look.
In this guide, you’ll start with an oval and gradually add the body, rims, handles, and grooves. If you enjoy step-by-step tutorials, the six pictures make it easy to see what to add next. Grab a pencil and give it a try, whatever your skill level – you can take your time with each stage and adjust your lines as you go.
How To Draw A Trash Can: Easy Step-By-Step Tutorial
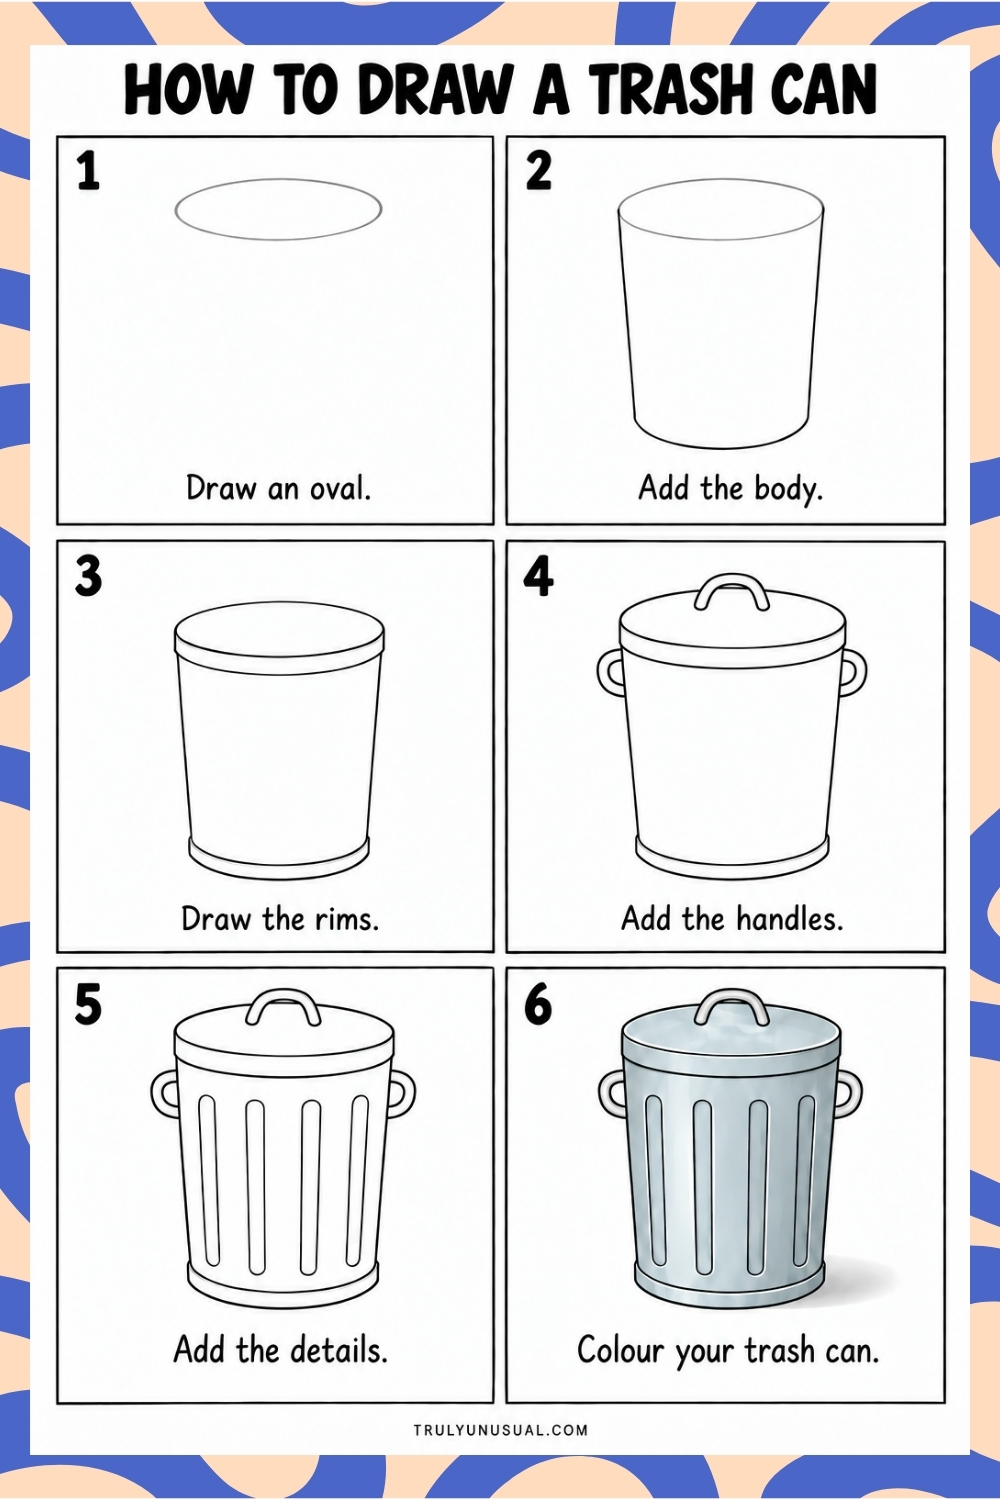
Step 1: Draw an Oval
Start with a wide, fairly flat oval near the top of your paper. This will become the top of the trash can’s lid, so leave a little room above it for the handle and plenty of space underneath for the body.
Use light pencil strokes so you can adjust the shape easily. If your oval looks uneven, gently round out the ends rather than trying to fix it with one heavy line. It doesn’t need to be perfect – just aim for a smooth shape that is wider than it is tall.
Step 2: Add the Body
From the left and right edges of your oval, draw two long lines downwards. Bring them slightly closer together as they reach the bottom, making the trash can a little narrower at its base.
Join the lower ends with a gently rounded curve. Avoid a straight line across the bottom: that curve helps the body look round instead of flat. Before moving on, check that the two sides are roughly the same length and that the can looks balanced.
Step 3: Draw the Rims
Now give the top and bottom edges some thickness. Just below the front curve of your oval, draw another curve that follows the same shape. Connect it at both sides to create the narrow band around the edge of the closed lid.
Add a similar band around the bottom of the can. Let it stick out slightly beyond the body on either side, then join it with a curved lower edge. Keep both bands fairly narrow, and erase any overlapping pencil marks where the new outlines replace the old ones.
Step 4: Add the Handles
Draw a small upside-down U near the middle of the lid. Follow it with a second curved line, then join the ends with rounded tips to give the top handle a little thickness. Both ends should rest on the lid.
Next, add a loop on each side of the trash can, just below the lid’s rim. Draw each one as a rounded C shape, with a smaller curve inside it. The loops should meet the sides of the can so they look attached, and their tops should sit at roughly the same height. Keep them simple – there’s no need for screws or tiny fittings.
Step 5: Add the Details
The four long grooves down the front give this trash can its familiar metal-bin look. Draw them as tall, narrow shapes with rounded tops and bottoms, leaving a gap between each groove and the rims.
Sketch all four lightly before darkening them so you can check the spacing. Let the outer grooves lean slightly with the sides of the can, while the middle pair stay more upright. These shapes don’t need to be identical, but keeping their widths similar will help the drawing look tidy.
Once you’re happy with the details, trace the outlines more firmly or go over them with a fine black pen. If you use ink, let it dry before erasing any leftover pencil marks.
Step 6: Color Your Trash Can
Use a pale blue-grey for the metal, keeping the color light at first. Build up darker shading along the sides of the body and beneath the lid’s rim, leaving a lighter strip towards the front. This change from light to dark helps show the rounded shape.
Add a little darker grey inside the long grooves and along the lower rim. On the lid, leave a few pale patches to suggest light reflecting off the metal rather than coloring the whole surface evenly.
Finish with a soft grey shadow beneath the can, extending a little to the right as shown in the picture. Keep its edges faint so the can looks as though it is sitting on a surface.
Give Your Trash Can Drawing Your Own Touch
Your trash can drawing is finished! Before putting your pencils away, try adding a little more shading beneath the lid or softening the shadow on the ground. Small changes like these can help the different parts look more solid.
You could also draw a few trash cans in different colors or make one taller and another shorter. Once you’re comfortable with the basic shape, try including yours beside a house, along a street, or in a cartoon scene. It’s a handy everyday object to have in your drawing collection.
Check out my other drawing ideas and guides: How to draw a pickup truck | How to draw sushi | How to draw a pleated skirt | Cute and easy Halloween drawing ideas | Cute animal drawing ideas | Cute and easy Christmas drawing ideas | Easy love drawing ideas.
Magdalena
If you enjoyed this post featuring easy trash can drawing tutorial, pin it on Pinterest to come back to it whenever you want and help it reach more readers!