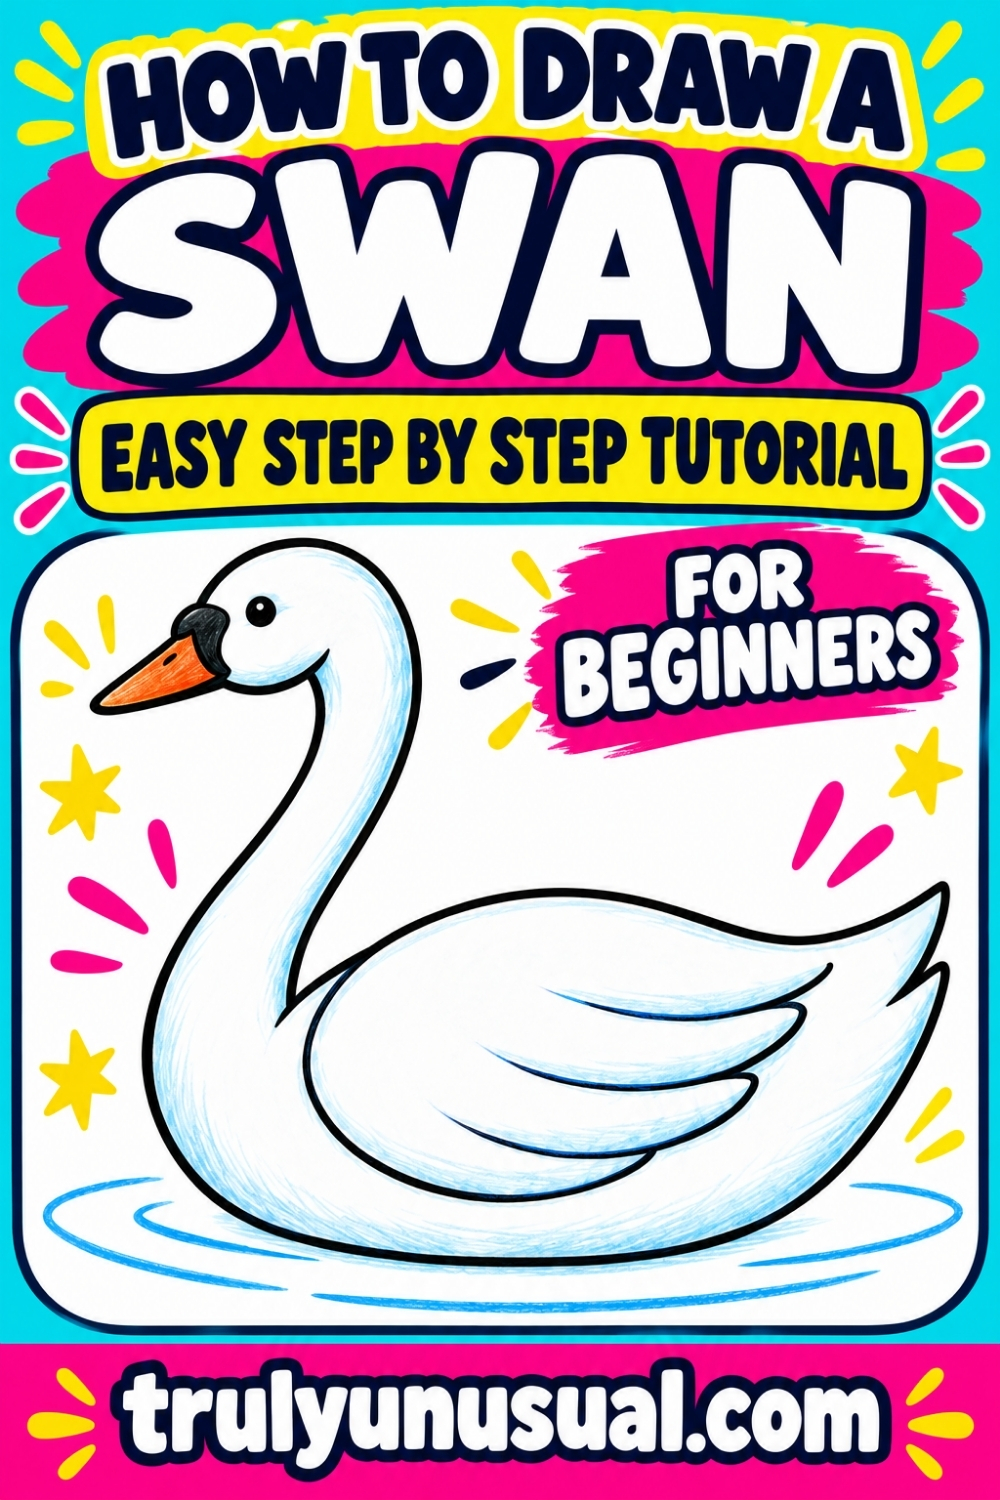
Learning how to draw a swan is easier when you break it down into a few simple shapes. This step-by-step tutorial takes you from a lightly sketched oval to a beautiful swan drawing with a curved neck, feather details, and a bright orange beak.
The instructions are easy to follow for kids and beginners, with guides to help you draw the swan’s full body and clear reminders showing when to erase them. Grab a pencil and an eraser, and keep a few colored pencils nearby if you’d like to finish your swan with color.
How To Draw A Swan: Easy Step-By-Step Guide
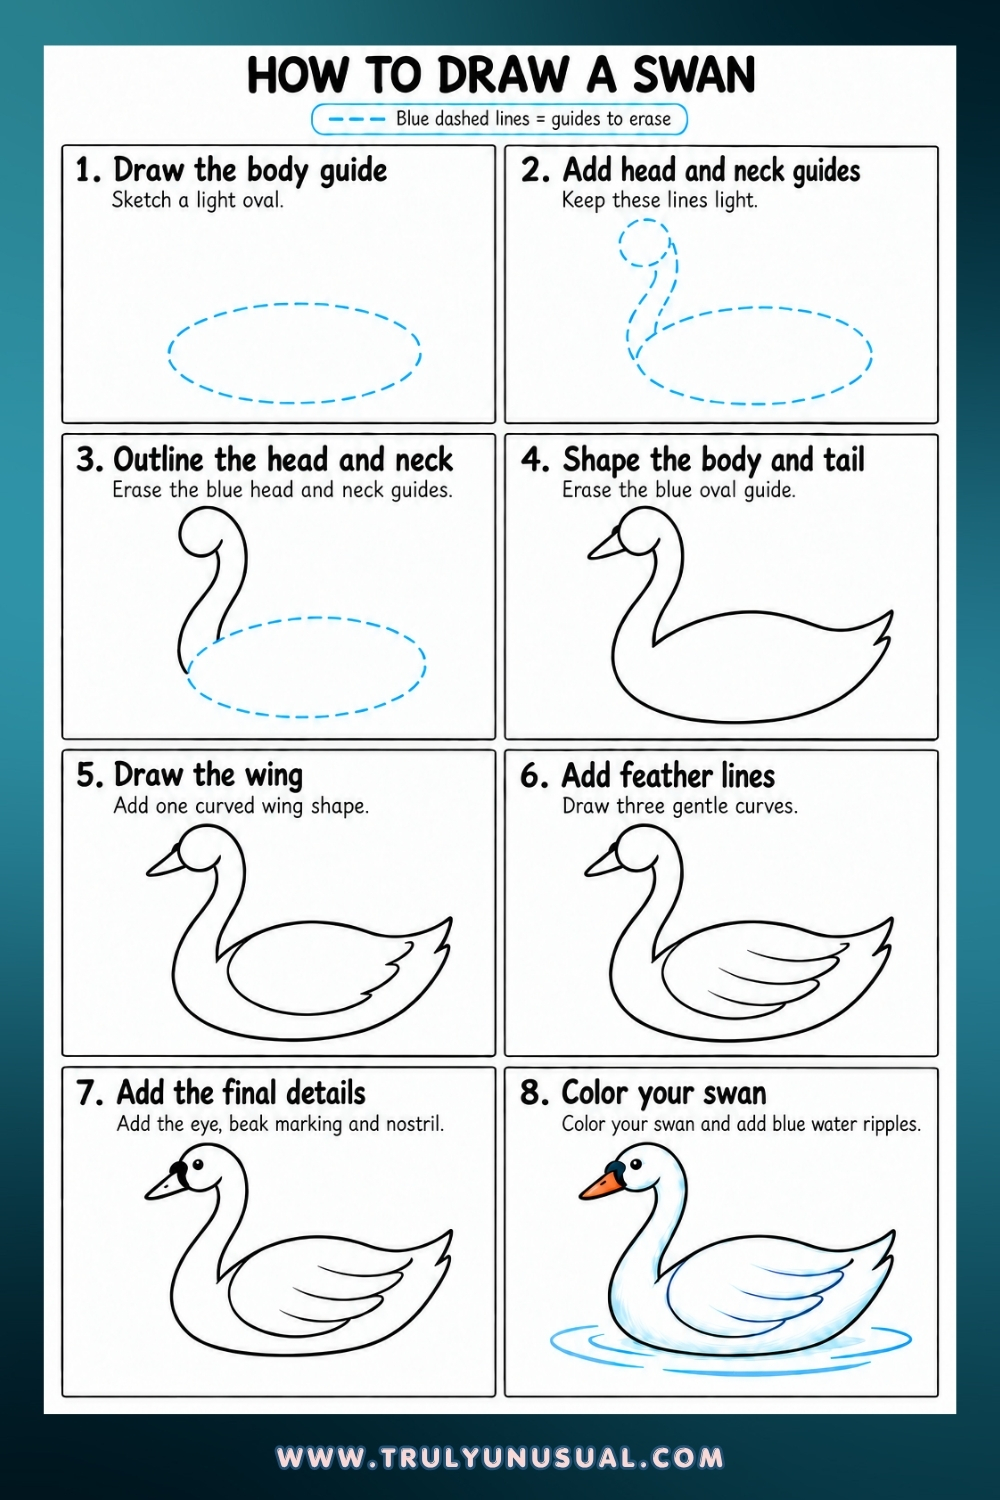
Step 1: Draw the Body Guide
Lightly sketch a wide oval in the lower half of your paper. Make it wider than it is tall, and leave plenty of space above the left side for the swan’s head and long neck.
This oval is only a guide, so don’t press hard with your pencil. The blue dashed lines in the tutorial show the parts you’ll erase later. You can use a regular pencil for these – just keep them light enough to remove easily.
Step 2: Add the Head and Neck Guides
Draw a small circle above the left side of the oval. Keep the head much smaller than the body, with a generous gap between them for the neck.
Next, sketch the two curved neck guides shown in the picture. They should bend gently from the head down toward the front of the body. Aim for a flowing curve rather than a straight, upright neck.
Keep these lines light, too. Before moving on, check that you’ve left enough space between the curves for a slender neck.
Step 3: Outline the Head and Neck
Using your guides, draw the rounded head and continue its outer edge down into the back of the neck. Then draw the front of the neck, starting beneath the head and curving down toward the chest.
The neck should be narrow near the head and gradually widen toward the body. Leave the head open where it joins the neck rather than tracing the entire circle.
When you’re happy with the shape, erase the head and neck guides. Leave the oval body guide in place for the next step. Use small, gentle movements with your eraser so you don’t accidentally remove the outlines you want to keep.
Step 4: Shape the Body and Tail
Use the oval to help you draw the rounded chest and belly. Join the front of the neck smoothly to the chest, then carry the outline around the underside of the body.
From the back of the neck, draw a gentle curve toward the right. Let it dip slightly before turning upward into a pointed tail. Add a second, smaller point beneath it, as shown in the tutorial.
Draw a small, pointed beak on the left side of the head, angled slightly downward. Once the outline is complete, erase the remaining oval guide. Check inside the body for any stray guide marks before continuing.
Step 5: Draw the Wing
Draw a large curved wing inside the body, starting near the base of the neck. Curve the line downward and around, leaving some space between the bottom of the wing and the belly.
Bring the wing up toward the tail and add a few small points along its right edge to suggest feathers. Keep these points soft and simple.
Sketch lightly at first so you can adjust the wing’s size. It should fill much of the body without looking squeezed against the outer edges.
Step 6: Add Feather Lines
Inside the wing, draw three curved lines to show overlapping feathers. Sweep each curve toward the right, following the shape of the wing.
Stagger the starting points and leave a little space between the lines. You don’t need to make them identical; use the picture to help you place each curve.
Keep the lines smooth and uncluttered. A few carefully placed curves are enough to give the wing its feathered appearance.
Step 7: Add the Eye and Beak Details
Draw a small round eye near the front of the head, just above the beak. Fill it in with black, leaving a tiny white highlight if you like.
Next, add the black marking where the beak joins the face. Keep it within this small area so most of the beak remains ready for the orange color.
Add a tiny, short dash near the upper part of the beak for the nostril, matching the mark in the picture. Use a light touch with a sharp pencil – the mark should be small, with space around it.
There’s no water to draw in this step. Check your outlines and gently erase any stray pencil marks before coloring.
Step 8: Color Your Swan and Add Blue Water Ripples
Color the beak orange, keeping the tiny black dash and the dark marking at its base visible. Leave most of the swan white.
With a light blue pencil, gently add color along parts of the neck, beneath the wing, and around the lower body. Start with very light pressure. These small touches of blue help define the shape without covering the white feathers.
Finally, draw a few shallow blue curves beneath the swan for water ripples. Extend them a little beyond the body on both sides, leaving gaps between the lines. Keep the curves low and wide so the swan looks as though it’s floating on calm water.
Now you know how to draw a swan with a pencil and add a little color to bring it to life. You can keep the soft blue shading shown here or try your own background, perhaps with reeds, lily pads, or another swan nearby.
For a more realistic swan drawing, try using a photo as a reference and paying closer attention to the shape of the head, beak, and feathers. There’s no need to get everything perfect on your first try – each drawing gives you another chance to practice those long, flowing curves.
Check out my other easy step-by-step drawing tutorials for beginners: How to draw a pickup truck | How to draw sushi | How to draw a pleated skirt | How to draw a trash can | How to draw a beanie hat | How to draw a swordfish | How to draw a bench | How to draw a cute cat | How to draw a coyote.
And here are some easy drawing ideas: Cute and easy Halloween drawing ideas | Cute animal drawing ideas | Cute and easy Christmas drawing ideas | Easy love drawing ideas | Cute drawing ideas | Nature drawing ideas.
Happy Drawing!
Magdalena
If you enjoyed this post featuring an easy swan drawing tutorial, pin it on Pinterest to come back to it whenever you want and help it reach more readers!