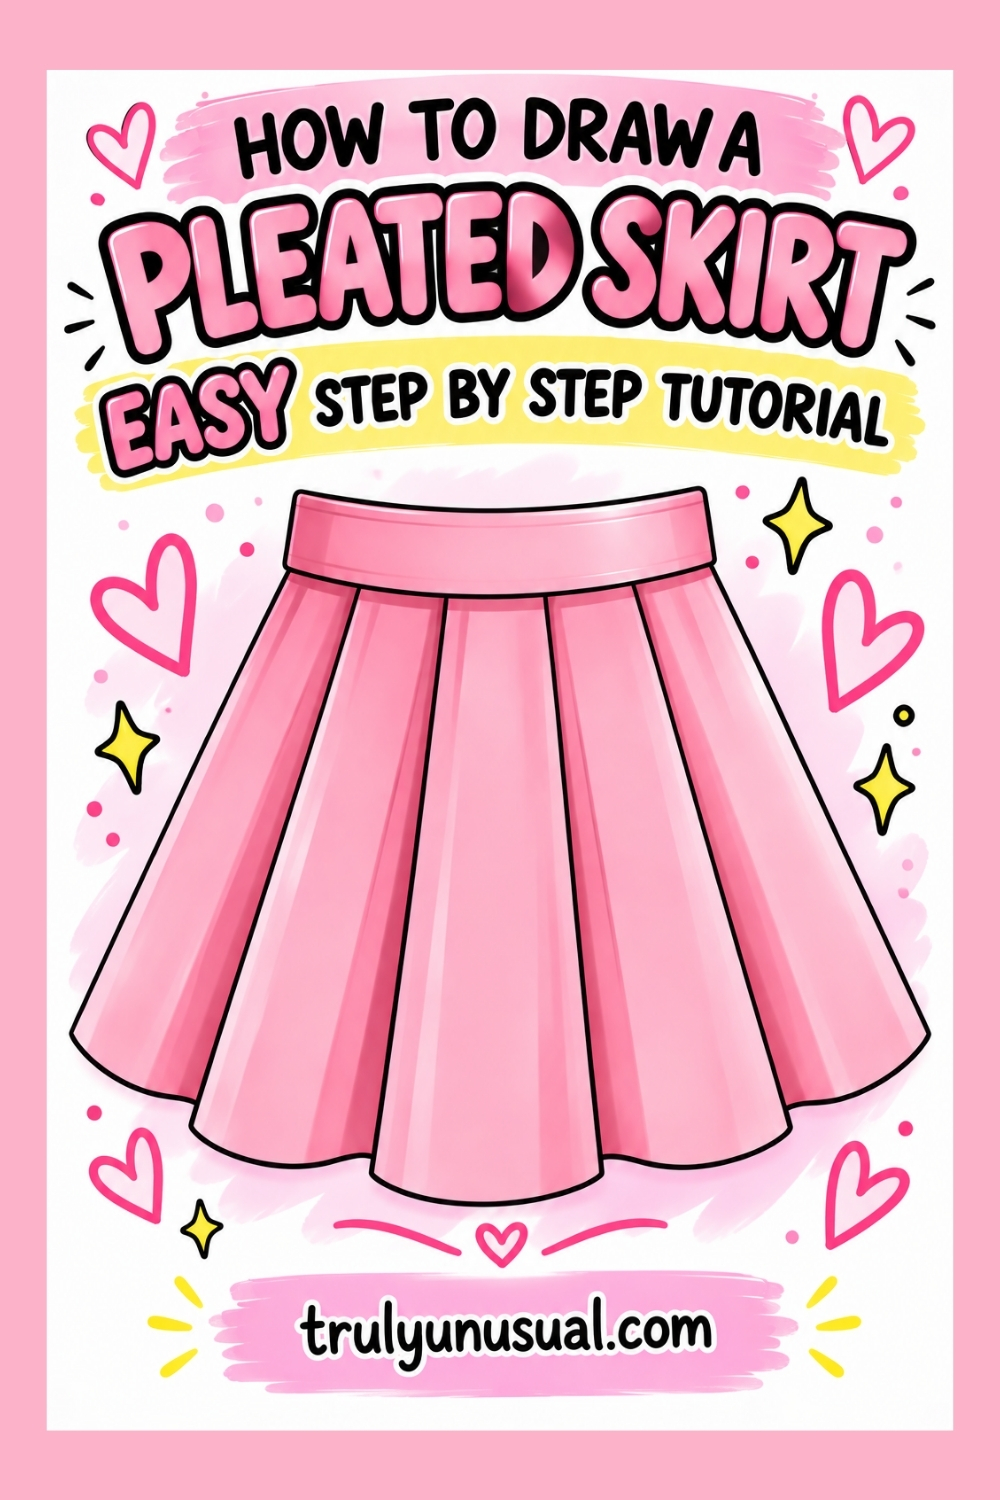
Want to learn how to draw a pleated skirt? You’re in the right place! In this easy step-by-step tutorial, I’ll show you how to create a cute skirt drawing from scratch, even if you’re completely new to drawing clothes.
Pleated skirts are fun to draw because they look detailed, but they’re actually made up of a few simple shapes and lines. Whether you’re sketching an outfit for an anime girl, designing clothes for your own anime character, or just looking for something new to draw, this tutorial is a great place to start.
We’ll begin with the waistband at the top of the skirt, then work our way down to create the flowing pleats. Instead of drawing a straight line across the bottom of the skirt, you’ll learn how to use a gently downturned curve and shape the hem of the skirt to make the fabric look more natural.
You don’t need any fancy art supplies, either. A pencil and eraser are perfect for following these simple steps, although you can also use coloured pencils, fine liners, or even ballpoint pens once you’re happy with your sketch.
You can follow along on paper or use your favorite drawing app if you prefer creating digital illustrations.
Ready? Let’s get started!
How To Draw A Pleated Skirt: Easy Step-By-Step Tutorial
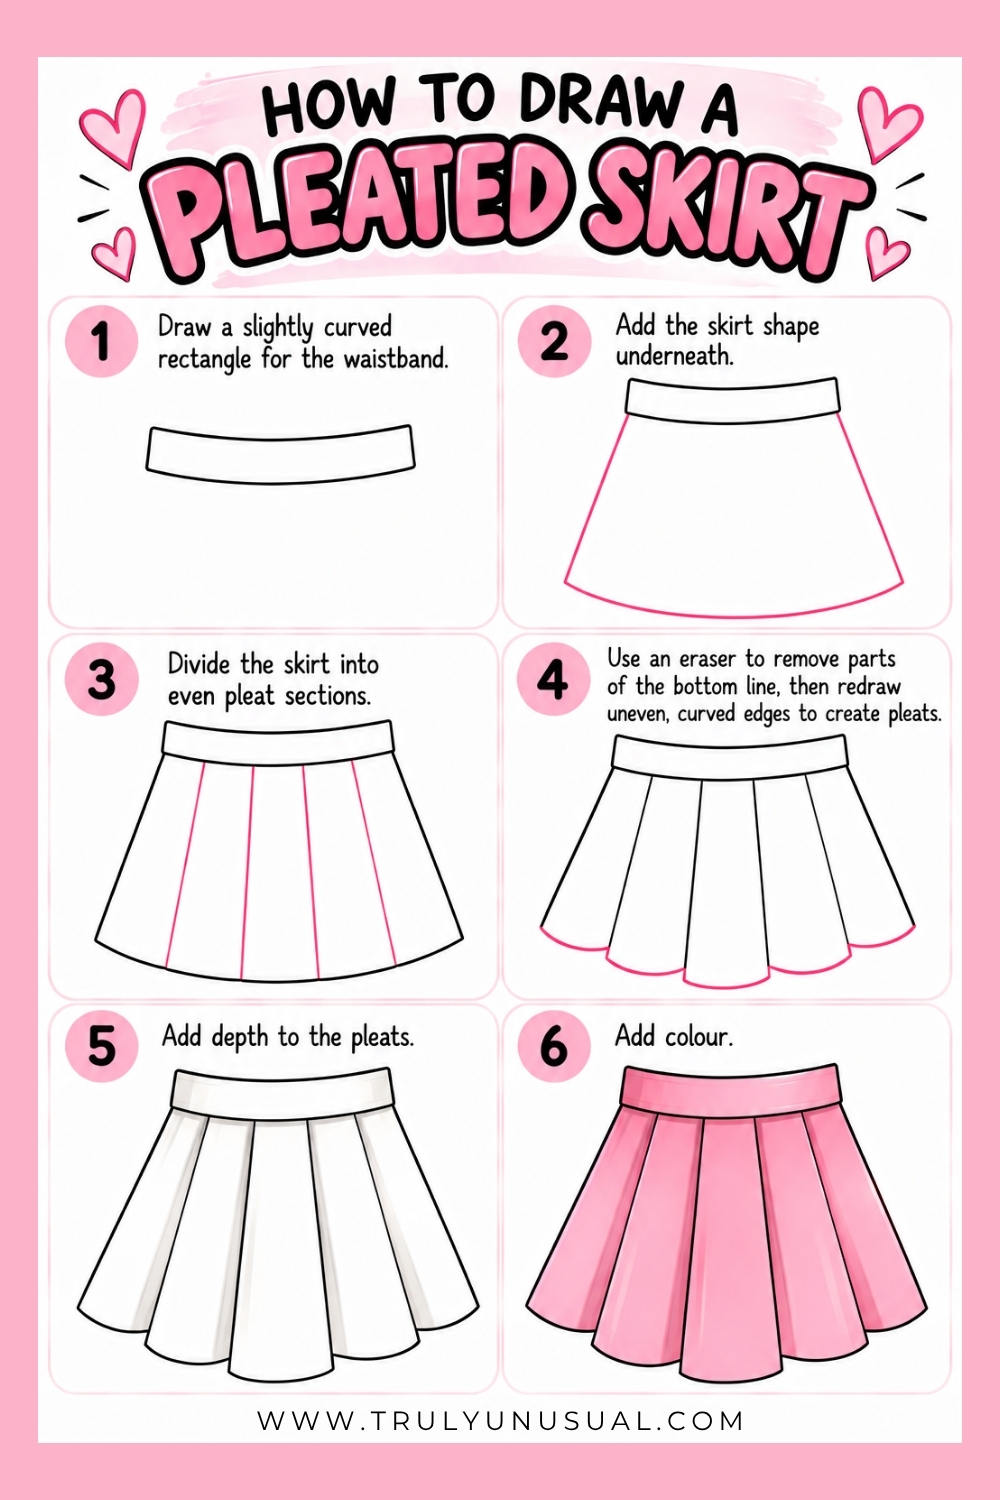
Step 1: Draw the Waistband
Start by drawing a long, slightly curved rectangle near the top of your paper. This will be the waistband of your pleated skirt.
Instead of making the top and bottom lines completely straight, give them a gentle downward curve in the middle. This makes the waistband look more natural, as though it would wrap around someone’s waist.
Connect the ends with two short lines to complete the shape.
Helpful tip: Keep your pencil strokes light at this stage. Try to make the waistband fairly narrow, as a very thick waistband can make the finished skirt look a little out of proportion.
Step 2: Add the Basic Skirt Shape
Now it’s time to draw the main body of the skirt.
Starting at the bottom left corner of the waistband, draw a diagonal line that slopes outward and downward. Repeat this on the right side, making sure both lines are roughly the same length.
Next, connect the two sides with a long, gently curved line across the bottom.
You should now have a simple A-line skirt shape that’s narrower at the waist and wider at the hem.
Helpful tip: Don’t make the sides too straight or too steep. A gentle outward slope will give your skirt a nice, flowing appearance and leave plenty of room for the pleats you’ll add next.
Step 3: Divide the Skirt Into Pleat Sections
This is where your drawing starts to look like a pleated skirt!
Draw four lines running from the bottom of the waistband down to the curved hem. Space them out fairly evenly to divide the skirt into five sections.
Notice how the lines spread slightly farther apart toward the bottom. This is important because the skirt flares outward from the waist.
For now, keep the bottom edge smooth and even. You’ll change its shape in the next step to make the individual pleats stand out.
Helpful tip: Use light pencil lines and avoid pressing too hard. These are your guides for shaping the pleats, so you may need to erase and adjust parts of them later.
Step 4: Shape the Pleats Along the Bottom
Now you’ll turn those flat sections into individual pleats by changing the shape of the hem.
Take your eraser and carefully remove parts of the original curved bottom line, particularly where the pleat sections meet.
Redraw the bottom edge using separate, slightly curved lines for each section. Let the curves dip down at different points to create the appearance of fabric folding and overlapping.
The middle pleat hangs slightly lower than the others, while the surrounding pleats have gently curved bottom edges that create a layered, flowing appearance.
Look at the illustration for this step to see how the original smooth hem becomes a series of individual curved edges.
Helpful tip: Don’t worry about making every pleat perfectly identical. Small differences in the curves make the fabric look more realistic. However, try to keep the overall shape balanced so one side doesn’t look noticeably longer than the other.
Step 5: Add Depth to the Pleats
Your skirt now has its basic shape, but a little shading will help bring those pleats to life.
Start by lightly shading along one side of each vertical pleat line. These darker areas represent the parts of the fabric that fold inward and receive less light.
Keep the shading closest to the fold lines, then gradually make it lighter as you move toward the middle of each pleat.
You can also add a little shading just underneath the waistband, where the fabric gathers at the waist.
Leave the central areas of the pleats mostly white. This contrast between light and dark creates the illusion of depth without needing lots of complicated details.
Helpful tip: Use the side of your pencil rather than the sharp tip to create soft shadows. Start with very light pressure and build up the shading gradually. It’s much easier to darken an area than to erase heavy pencil marks.
Step 6: Color Your Pleated Skirt
You’re almost finished! Now it’s time to add some color.
For this example, I’ve chosen pink, but you can use any color you like.
Start by coloring the entire skirt with a light, even layer of your chosen shade. Try to keep the color consistent across the waistband and pleats.
Next, use a slightly darker shade along the fold lines and underneath the waistband. This will help emphasize the shadows you added in the previous step.
Leave a few lighter areas running down the middle of the pleats to suggest where the light catches the fabric.
Finally, go over the main outlines with a darker pencil or fine-tip pen if you want a cleaner, more defined finish.
Helpful tip: If you’re using coloured pencils, apply the color in several light layers rather than pressing down hard straight away. This makes it easier to blend different shades and create smooth transitions between the highlights and shadows.
And that’s it! You’ve drawn your very own pleated skirt.
Once you’re comfortable with the basic shape, try experimenting with different skirt lengths, colors and pleat widths. You could draw a short tennis skirt, a longer school uniform skirt, or even a flowing midi skirt using the same six steps.
Final Thoughts
And there you have it – your very own pleated skirt!
Once you understand how the folds work, it’s easy to experiment with different styles. Try drawing a high-waisted skirt, changing the length, or making the pleats wider or narrower for a completely different look.
One of the most important things to remember is that the shape of the skirt doesn’t have to be perfectly symmetrical. Slightly uneven curves and a little shading around the folds can make your drawing look much more natural.
You can also have fun with colors and patterns. Try a classic grey school skirt, a pastel pink tennis skirt, or a colorful plaid design. You could even add your finished skirt to a full character drawing and create an entire outfit around it.
Keep practicing, experiment with different designs, and don’t worry if your first attempt isn’t perfect. The more skirts you draw, the easier it becomes to create those lovely, flowing pleats.
Happy drawing!
Magdalena
Check out my other drawing ideas and guides: How to draw a pickup truck | How to draw sushi | Cute and easy Halloween drawing ideas | Cute animal drawing ideas | Cute and easy Christmas drawing ideas | Easy love drawing ideas.
If you enjoyed this post featuring an easy pleated skirt drawing tutorial for beginners, pin it on Pinterest to come back to it whenever you want and help it reach more readers!